Kill Bed Bugs Yourself With a Safe, Affordable DIY Heat Treatment
Top experts recommend heat as the best way to kill bed bugs. But a professional bed bug heat treatment can cost thousands of dollars and disrupt your daily routine. The good news is you can kill bed bugs with heat yourself.
Done correctly, a DIY bed bug heat treatment is the fastest, most effective, and most affordable way to get rid of bed bugs. Join the thousands of homeowners across North America who trust Convectex for their bed bug heater equipment and supplies.
Cost is the biggest reason to treat bed bugs yourself. The national average for a professional heat treatment is around $1 per square foot, so a 2,500 sq ft home could cost about $2,500 to treat. On top of that, most pest control companies offer a limited warranty or none at all.
When you own your equipment, you can usually recover its cost in just one or two treatments, since you're not paying a professional. You also keep the equipment and can re-treat your home anytime bed bugs return.
Our environmentally friendly bed bug heater and fan packages treat homes, apartments, and hotels without harsh or dangerous chemicals. There are no odors, no stains, and no waiting for sprays to dry. Once the treated area cools, it's safe for people and pets to re-enter.
How DIY Bed Bug Heat Treatment Works
Regular people can now buy professional-grade bed bug heaters and fans for about the cost of a single professional heat treatment, right from home.
With the right equipment, a DIY bed bug heat treatment is safe and effective in almost any space. Whether you are treating a single room or an entire building, Convectex heaters and fans are proven to kill bed bugs in:
 SINGLE-FAMILY HOMES
 - APARTMENTS AND CONDOS
- CONDOMINIUMS
- HOTELS AND MOTELS
- HOSPITALS AND CLINICS
- SENIOR LIVING FACILITIES
- OFFICES AND WORKPLACES
- VACATION RENTALS
Heat kills bed bugs by overheating and breaking down their biological systems. The higher the temperature, the faster it works. Because heat reaches every surface in a room, bed bugs have nowhere to hide, from mattress seams to baseboards and wall voids. At temperatures above 113 degrees Fahrenheit, bed bugs begin to die.
The optimal temperature to eliminate bed bugs is between 120 and 130 degrees Fahrenheit. That temperature needs to be held for 2 to 24 hours, depending on the level of infestation and clutter in the space.
Below is a step-by-step guide for killing bed bugs yourself with heat, using the same proven heaters and fans the pros rely on. Convectex developed this process over many years and thousands of professional bed bug heat treatments and inspections. Follow the steps below to treat your home the right way.
Step 1: Inspect Your Home for Bed Bugs

Check out our Bed Bug Inspection Video!
To successfully get rid of bed bugs, you have to start with a thorough bed bug inspection. A good inspection has two goals:
1) Confirm the bugs you are seeing are actually bed bugs
2) Determine where in the home they are located.
Before you treat, make sure you are actually dealing with bed bugs. People often mistake other insects for bed bugs, and that can be a costly error. Rule out the most common lookalikes before calling a pest professional in a panic. Here is a guide to bugs commonly mistaken for bed bugs.
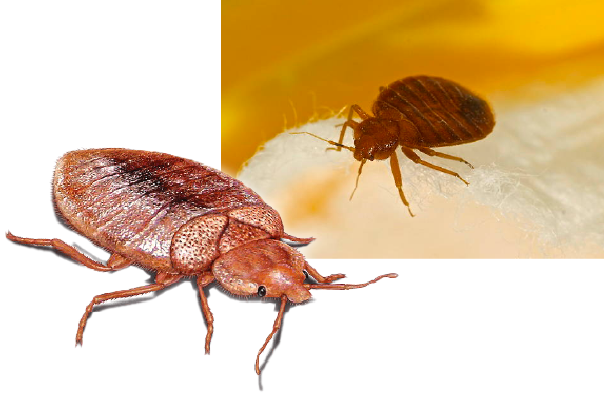
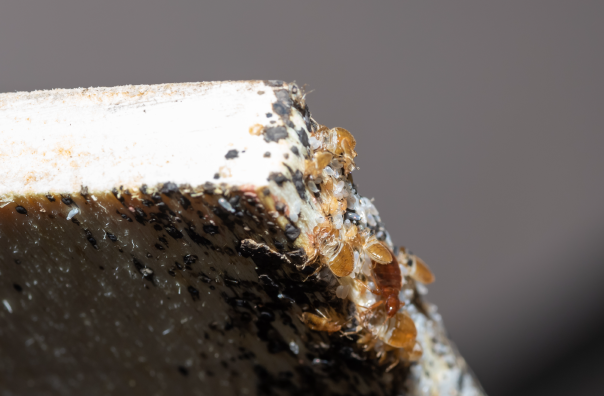
Adult bed bugs are about 1/4 inch long and reddish-brown, so they are easy to spot with the naked eye. You may also find them in earlier stages, like nymphs and eggs, which offer clues about how severe the infestation is. Nymphs are smaller, paler versions of adults. Eggs are the hardest to see, since females attach them to surfaces with a sticky substance that makes them nearly invisible without close inspection.
Bed bugs go through five stages before adulthood, called nymphs or instars. The full process from egg to adult takes 24 to 36 days, depending on temperature. Check out our guide to identifying bed bug life stages.
Bed bugs like warm, tight spaces, so inspect slowly and thoroughly. Pay close attention to small cracks and crevices, folds of fabric, seams, and gaps in furniture. Check underneath and behind furniture, inside drawers, and along any spot where people sit or sleep for long periods. These warm, hidden areas are where infestations usually start, so this is where your inspection matters most, such as
- BEDS AND MATTRESSES
- COUCHES AND RECLINERS
- NIGHTSTANDS AND END TABLES
- DRESSERS AND DRAWERS
- OFFICE CHAIRS
Also check the edges of rooms, along baseboards, carpet, and behind curtains, since bed bugs travel these routes to where you sleep. If you still cannot find them but keep waking up with bites, consider a K-9 bed bug detection team. These trained dogs sniff out traces you would never spot on your own.
A thorough inspection shows you how large the infestation is and where to focus your bed bug heat treatment. Once you know where the bed bugs are hiding, you are ready to prepare the space for treatment.
Step 2: Determine the Amp Value of Your Home's Circuits

Check out our how to power a Bed Bug heat treatment Video!
Once you have confirmed a bed bug problem, your next step is choosing a heater system that matches your home's power. Electric bed bug heaters work best in most cases because they are effective, easy to use, and have the most built-in safety features.
To choose the right heater, evaluate your home's electrical system and count the circuits available to power it.
Start by finding your home's breaker panel. In single-family homes it is often outside, while in apartments and other homes it is usually in the master bedroom, hallway, or laundry room.
Open the panel door and look at the breakers. Each switch has a number on it, which is the amp value for that circuit. That number tells you how much power the breaker provides and whether it can handle a heater's demand. Once you know your amp values, the next step is figuring out how many circuits you need to power your package.
WARNING! Do not use our heaters in homes or structures with non-upgraded power / wiring, push-in or screw-in fuses, or aluminum wiring. These outdated electrical wiring practices were typically found in homes and structures built before 1978. Please consult a licensed electrician for more information of verification of your structures power requirements before use.
How to Figure Out How Many Circuits You Need
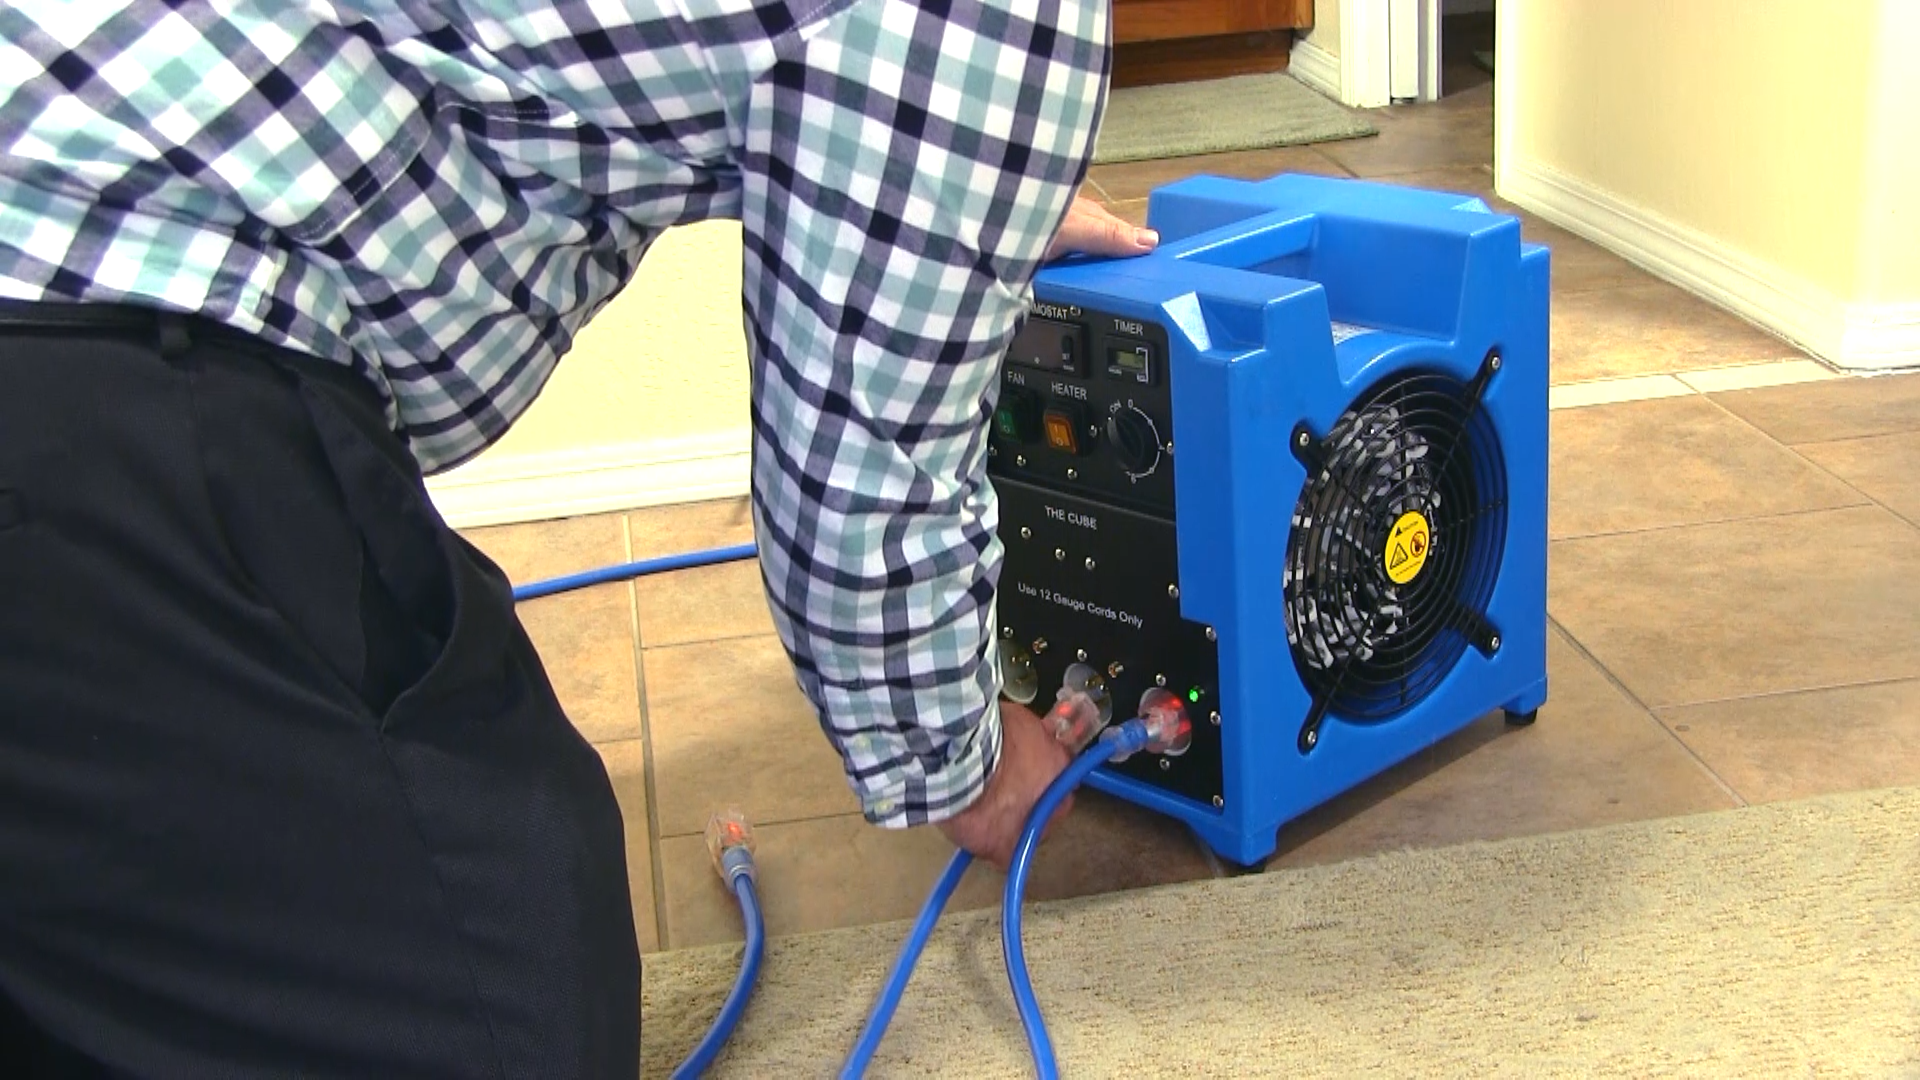
An electric heater is made up of a fan and heating coils. The fan blows air across the coils to heat it. Each coil draws a lot of electricity and usually needs its own power cord (110v). For example, a heater with four heating coils requires four power cords.
Some heaters use a single larger cord, called a 240v plug, to power multiple coils at once. Pay attention to which type your heater uses, since it affects how many circuits you need.
When selecting the best Heater System for your home, you need to figure out how many different circuits you'll need to power the number of heat coils in the system.
For example, suppose you’re using the Bed Bug Buster Pro C4 Heater. To power this heater in its entirety you will need four separate 15 or 20 amp (110v) circuits. When using the Elite 33K Hypro Bed Bug Heate you’ll need four 15 or 20 amp circuits plus two 20 amp circuits at (110v). Alternatively you would need eight 15 amp circuits at (110v). Keep in mind you will only need to power as many individual heating elements needed for the size area you are treating.
How to Step Down 240V to 120V
Some homes do not have enough 15 amp or 20 amp circuit breakers to power the electric heater. But, if you have a 240V outlet, you can use a Turtle Box Distribution Kit to convert the outlet into four 110V outlets and power the electric bed bug heater. The 240-Volt plug is typical for an electric stove or dryer and is larger and has a different plug configuration. This configuration offers a more manageable and compact power system that is often easier to set up than using multiple power cords to draw power from numorous outlets across a structure.

Check out our video on understanding power circuits!
Step 3: Select the Best Bed Bug Heater for Your Home
When choosing a bed bug heater, pick a system that matches your home's electrical capacity, and go as large as your power can support so you can treat more space in a single session. Fans are just as important, since they circulate the hot air and use convection to push heat into the cracks and crevices where bed bugs hide, letting one heater cover a larger area. Below are the bed bug heat packages homeowners rely on most.
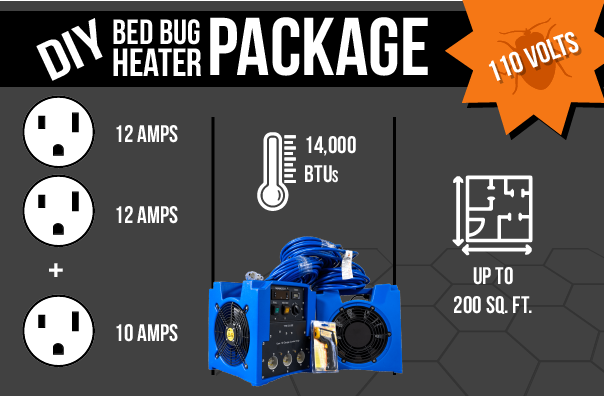
Option 1: 110 Volt DIY Bed Bug Heater Package
- Power Requirements: 110 Volt
- 3 Heating Elements (2 X 12 amps/ 120 Volt and 1 X 10 amps/ 120 Volt )
- BTUs: 14,000
- Heated Space: Up to 200sqft
- Intended Users: Homeowners and hotel owners performing spot heat treatments or in a room of 200sqft or less
The 110 Volt DIY Bed Bug System is affordable and easy to use. Its internal fans make it usable alone, or you can add multiple fans for better convection and results. It is best suited for spot-treating smaller areas of 200 square feet or less in residences and businesses.
Option 2: BED BUG BUSTER PACKAGE SALE
- Power Requirements: 110 Volt
- 4 Heating Elements (4 Draw 12 amps/ 120 Volt)
- Twist Lock Power Cords
- BTU's: 20,478
- Heated Space: Up to 400sqft
- Intended Users: Homeowners and hotel owners performing spot heat treatments or in a room of 650sqft or less
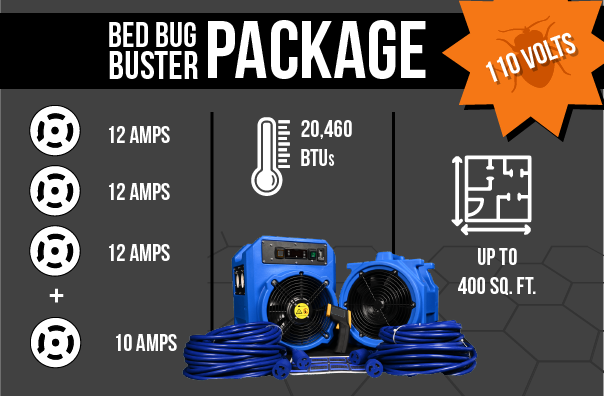
The Bed Bug Buster Package is affordable and easy to use. Its internal fans make it usable alone, and we added an extra fan for better convection and results. It is best suited for spot-treating areas of 400 square feet or less in residences and businesses with 15 amp circuits.
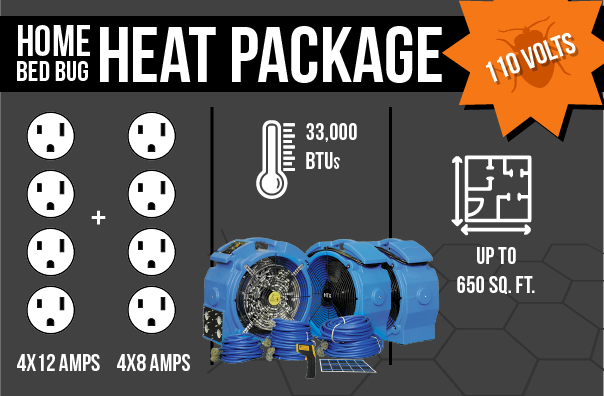
Option 3: Home Bed Bug Heat Package (BEST OPTION FOR MOST HOMES when the 33K Heater option is chosen)
- Power Requirements: 110 Volt
- 8 Heating Elements (4 Draw 12 amps/ 120 Volt and 4 Draws 8 amps/ 120 Volts)
- Maximum Air Movement / Convection
- BTUs: 33,000
- Heated Space: Up to 650sqft
- Intended Users: Homeowners and hotel owners performing spot heat treatments or in a room of 650sqft or less
The Home Bed Bug Heat Package is affordable and simple to use, and it is our recommended package for most homes treating areas of 650 square feet or less. The extra fans provide strong air circulation and high convection, driving heat into tough spots like under carpets where bed bugs hide.
Step 4: Prep Your Home for the Bed Bug Heat Treatment

See Our Bed Bug Heat Preparation Video!
Preparing your home for a bed bug heat treatment is essential for success. Keep the following objectives in mind when preparing:
- The goal is to bring the room and its contents to a minimum temperature of 120 degrees and maintain this temperature for 2 to 24 hours.
- Create convection by using fans to circulate the heated air.
- Address piles and clutter that do not heat evenly.
- Never spray repellant bed bug chemicals or foggers. See below for Do's and Don’t.
Some Quick Don’ts and Do's Before Bed Bug Treatment
Until you can treat the bed bugs, there are some dos and don'ts that you should follow to ensure that you don't worsen the problem.
- Don't - throw out your mattresses or furniture if you suspect they are infected. You will be throwing away expensive items, but you are also likely to spread bed bugs and their eggs throughout your home as you transport them outside.
- Do - use bed bug encasement's on your mattresses and pillows. These will prevent bed bugs from getting inside or those already in there from being able to bite you while you sleep.
- Don't - Don't move infested furniture from one room to another - this only spreads the infestation.
- Do - launder any items such as clothing or a stuffed animal through a hot dryer or wash cycle (at least 120˚F) to kill anything first.
- Don't - spray or apply any over the counter repellant chemicals or foggers. These can severely disperse a bed bug infestation into hard-to-treat areas such as well voids, under carpets, and or adjoining apartment units.
Bed Bug Heat Treatment Preparation List
- Before heat treatment, do not use any pesticide bombs, foggers, sprays, or dust.
- Do not remove anything from the treatment area except for items such as plants, pets, candles, etc. If possible, place items in sealed garbage bags.
- Pull furniture 4 to 6 inches away from walls to allow air to flow behind.
- Excessive piles of linens or clothing should be sealed in bags, left in the treatment area, and then separately washed and dried on the highest heat setting.
- Unplug all electronics except major appliances..
- Any items (clothing, shoes, valuables) taken out with the occupant on a day of heat treatment must be thoroughly inspected and sanitized before being re-introduced to the treated area.
- Improperly secured pictures may blow down and should be taken down and laid flat.
- Vinyl or faux wood blinds have a low heat tolerance; lay them flat to avoid warping.
- The treatment uses High power fans during this process; secure loose papers so they don't blow around.
Heat Sensitive Items
It's important to remove items that might be sensitive to heat. However, before removing items, everything must be INSPECTED, SANITIZED, and PLACED IN A SEAMLESS PLASTIC CONTAINER and either placed in the refrigerator or removed from the treatment area. Here are some items to consider:
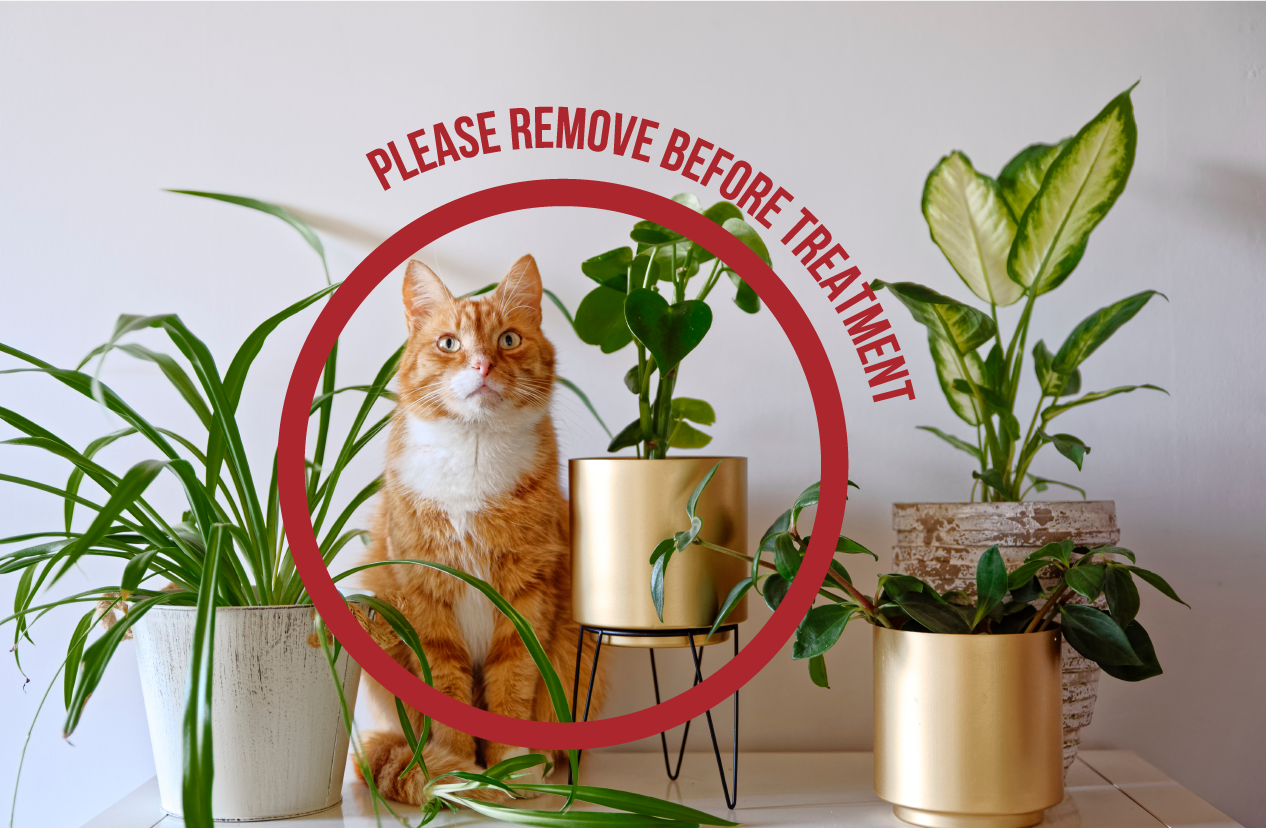
- Remove all plants and pets.
- Remove melt-able items like chocolate, lipstick, candles, crayons, and deodorants.
- Remove aerosol cans, fire extinguishers, lighters, soda cans, and pressurized containers.
- Remove wines, liquors, perishables, medications & vitamins, and vinyl records.
- Remove items assembled with hot melt glue.
- Remove printers, wireless routers, and batteries.
Step 5: Set Up and Plug-In Your Heaters

Check out our Video on Achieving Proper Airflow!
Set up your bed bug heater equipment to maximize airflow and circulation. Like a convection oven, the fast-moving hot air forces heat into the nooks and crannies where the bugs live. High air flow also helps speed up the heating process through convection. Keep these general concepts in mind when setting up your bed bug heat treatment equipment.
Your heater will typically have a long black power cord built into the machine. This plug powers the fan. It also has a group of standard three-prong plugs on the side of the heater where you can plug in an extension cord. These plugs power the heater coils in the machine and typically require 8 or 12 amps of electricity.
It is crucial to use extension cords rated for the plug's required amps. An undersized extension cord can overheat. Always use the power cords that came with the heater package. If you need to replace a power cord,
check here.
For example, the Bed Bug Buster Pro C4 Bed Bug Heater uses four blue twist lock extension cords that plug into the heater that power heater coils. These blue cords are for 110V, so you need to be careful to only plug them into your standard wall outlets. Each coil will draw 12 amps of 110/120volt power.
Remember, each circuit breaker should only have one blue cord plugged into it!
You might have multiple wall outlets in a room, but they often run to the same breaker. That means spreading your cords across different outlets in the same room will not help. You need to spread them across circuits that are on separate breakers.
Similarly, if you use the Elite 33K Heater, you'll have a similar set-up but you will need more circuit breakers. For this machine, 4 of the blue power cords will each draw 8 amps @ 110/120volts. The other 4 cords will draw 12 amps @ 110/120volts. You can plug two 8 amp blue power cords into one 20 amp circuit (use multiple outlets) because the combined draw will be 16 amps so you will need 2 x 20 amp breakers for one side of the machine. The 12amp side will require at least 4 x 15 or 20 amp 110/120volt breakers.
Getting the circuit math right is the most important part of a safe, effective setup. Overloading a single breaker can trip it mid-treatment, cool the room, and give bed bugs a chance to survive. A tripped breaker also costs you time, since you have to reset it and reheat the room before continuing. Take a few minutes to map out your circuits before you plug anything in.
Check Out our Video on How to Power Your Bed Bug Heat Package!

Watch Our Bed Bug Heater Safety Video Before You Start!
This process can be confusing, so please don't hesitate to call our experts if you have questions!
Call Today - 877-375-0005
Before you start, run a few quick checks on your power setup. Push every plug in tightly at the wall outlet and into the heater unit, since a loose connection can make the heater underperform or trip a breaker.
Spread your blue power cords across circuits on different breakers so no single breaker is overloaded. Running too many cords off one breaker is the most common setup mistake, and it will trip the breaker as soon as the heaters draw full power. If you are unsure which outlets share a breaker, check the labels on your breaker panel before you start.
Once your power is divided across separate circuits and everything is plugged in securely, you are ready for the bed bug heat treatment. Still unsure about your setup? Our team has guided thousands of DIY treatments and can help you get it right before you begin.
Bed Bug Heat Treatment Best Practices
At this point, you are ready to turn on the bed bug heat treatment equipment and start treating. Here are some essential things to consider during the process.
1. Always try to seal the room(s) from escaping heat—especially HVAC vents, lights, bathroom exhaust fans, bottoms of doors, wall air-conditioners, etc.
2. Cover windows pane with blankets or equivalent to minimize heat loss from cold windows.
3. Remove items you would not typically leave in your car on a hot sunny summer day—candles, lighters, many foods, candies, etc. DONT PROP / TEEPEE THE BED AND BOXSPRING BEFORE TREATMENT! THIS WILL DISPERSE THE BED BUGS!
4. Unplug electrical items and don't put them in front of the heater or fans. These items can usually handle higher temperatures than what the heater gives off, but it's best to avoid the heat coming directly from the heater to minnimize the risk of damage.
5. Bag clothes and sheets, and run them in the clothes dryer on high for 45 minutes. Never leave clothes lying on the floor or other surfaces, as they
will impede heating.
6. Open all drawers and separate all items so hot air can get everywhere quickly.
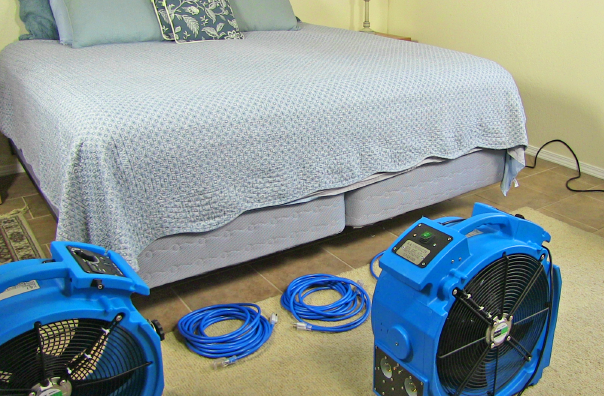
7. Place all fans blowing in the same direction along the walls in the area you are heating to circulate the hot air into every nook and cranny. If possible, place at least one fan per wall. Turn on fans to ensure air movement is sufficient.
8. Place heater(s) to sweep up the hot air by the fans and circulate the room. Avoid having hot air hitting any furniture or building materials directly before being blown about by the fans.
9. For maximum performance, use one heater for every 150 sqft in a standard room with a 9' or less ceiling height.
10. Turn on heaters and make sure all power cords are plugged in and the cord lights are on. Heater coils will not heat if you do not have power connected.
11. Always check for fire sprinklers installed in a building. Keep the heat level at the fire sprinkler head a minimum of 30F below the trigger temperature of the fire sprinkler.
12. Walls and ceilings made of block or concrete require more heat because they are more conductive than drywall. This means one heater will heat less space when you have walls and/or ceilings with block or concrete. 50% more power is a general rule for these rooms.

Check out our FAQ / Bed Bug Heater Trouble Shooting Video!
Keep in mind after the bed bug heat treatment:
1. The treatment area will be hot, so move items around to distribute the heat evenly. You can open windows and use fans to cool the room down as needed.
2. Wait to turn the AC on until AFTER the treatment area reaches a safe temperature of 98 degrees. If you turn on the AC too soon, condensation can appear on your ceilings and damage your AC unit.
3. Dry ALL the clothes worn on the day of treatment for at least 45 minutes before re-entering the treatment area.
4. Bed Bugs may take up to two weeks to fully die off after the treatment. Most bugs will die immediately, don't be alarmed if you find a few live bugs after the treatment. If you see Bed Bugs after 2 weeks treat again!
5. Bed bug bites can appear up to two weeks after being bit, don't worry about any new bites for the first two weeks following the treatment.
Step 6: Re-inspect / Monitor
After bed bug heat treating, it's time to reinspect to ensure the bed bugs are gone. Follow the steps outlined in step one again. A Bed Bug Detection K-9 team will be most effective here.
1. Clean / disinfect all the surfaces in the home, particularly in the bathroom, bedroom, and kitchen. This cleaning won't directly kill the bed bugs, but it'll remove any hair, dust, or dirt kicked up during the heat treatment.
2. Vacuum your sleeping areas. While you don't have to vacuum your sleeping area for it to be usable, it's likely to give you peace of mind. Strip your bed, vacuum your mattress and pillows, and mattress topper if it's too large to fit in the washer. Put all your bedding through a wash and and dry cycle.
3. Inspect your home at least every month or so for the first year. It's important to try figure out how you got bed bugs in the first place. Try and identify pathways from which they may have come from, such as travel, used furniture, or house guests. A heat treatment will have killed any bed bugs in the home, but you can catch them again.
4. Take preventive measures to avoid further bed bug infestations. When you travel, inspect your hotel room before getting comfortable: look at the linens, mattress, bed frame, headboard, and bedside tables. Avoid putting your luggage on the floor or bed of a hotel. It's best to keep them on a luggage rack instead.
5. It's also best to avoid storing your belongings in hotel furniture like bedside tables or wardrobes.
6. Most importaintly if your bed bug treatments fail for any reason or you continue to get bed bugs please always feel free to call us directly for free customer support or treatment advice from one of our Bed Bug Heat treatment experts! 877-375-0005

Check Out Our Verifying Bed Bug Heat Treatment Success Video!
Heat Treating for Bed Bugs Can Be Done Yourself
You might be on the fence about a DIY approach to bed bug treatments, but know many people are successful every day. Like all home projects, do your research, compare the pricing of all your options and ask lots of questions.
We are here to help!
Call Today
 877-375-0005